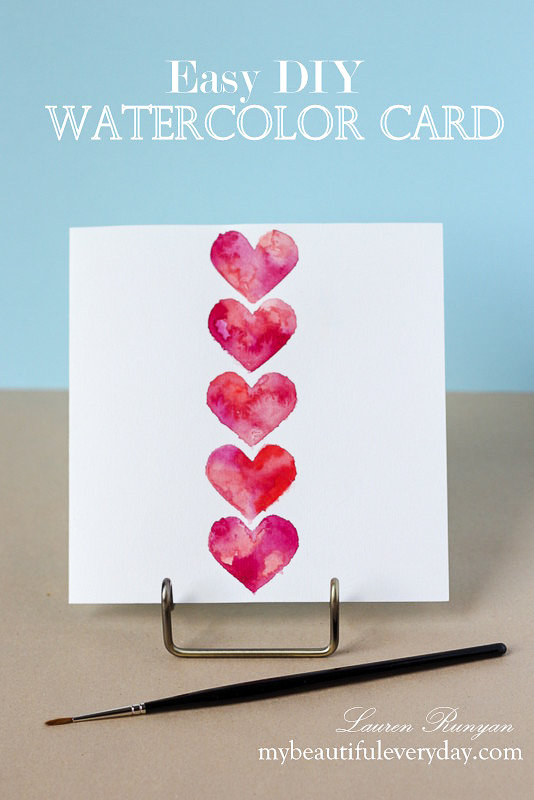
Easy DIY Watercolor Card
I recently celebrated my wedding anniversary and thought that this year I would make my own card for my husband. I love working with watercolors, and wanted to make something special but within one sitting. Of course, my 5 year old daughter wanted to make one as well:) Here are the materials we used.
 Materials:
- Watercolor paper cut into any size you like. (Mine is 6 x 6 inches.)
- Watercolor paints (My daughter used crayola and I used Daniel Smith. Either will work fine)
- Small round watercolor brush (A flat brush will work too)
- Paper towels
- Bowl or cup of water
- Scissors
- Small piece of cardstock paper
- Pencil
Helpful tip: Practice using the stencil on a scrap piece of watercolor paper beforehand to get the feel for how it works.

Step 1: Cut your cardstock paper into the shape of a rectangle and fold in half. The one I created above is 2 x 4.5 inches. Once the cardstock is folded in half, take your pencil and draw half of the heart shape. While the paper is still folded, cut out your shape. Unfold the cardstock and you should have a cut-out heart shaped stencil.

Step 2: Cut your watercolor paper to your desired size and fold in half. Place card onto your work surface and lay the stencil onto the area where you would like your heart. My daughter placed hers smack dab in the middle. I started at the top and slowly moved my way down the card. Choose the color paint that you want and fill the brush with water and then paint. (If your brush is dripping with the paint and water, then you have too much. In that case, lightly blot your brush onto a paper towel to remove the excess water.) Firmly place your fingers and hand that you are not painting with onto the stencil so that the paint doesn’t bleed underneath. Paint inside your stencil and fill the heart in completely before the watercolor is dry. You may need to refill your brush with the paint and water a few times to have the heart fully filled in. I used a combination of two colors to add a little variation in each heart. I used a red and deep pink.


Step 3: Gently remove the stencil from your paper to see your heart. The red heart is mine and the purple heart is my daughter’s. If you remove your stencil and notice that the paint bled underneath you can take the corner of a paper towel and blot out the undesired paint. (You have to do this when the paint is wet. So, if your undesired paint spots are dry, you can re-wet the area you don’t want with a clean wet brush. Make sure your brush doesn’t have any paint in it- just water. Re-wet the area and then blot it out with the paper towel. You may have to do this a few times if the area has a lot of undesired paint. My paint bled a little bit but I didn’t mind. I liked how the colors flowed out of the heart shape giving it more of an organic feel.

Step 4: Repeat step 2 by placing your stencil back onto your card and filling it in with the watercolor. Be sure to first dry off your stencil if it is wet so as not to put unwanted paint on your card accidentally. Add as many as you like and put them wherever your heart desires!! No pun intended 🙂 Once finished, allow your card to dry.


This is a quick and easy way to make a personalized card. Have fun and be creative as there are endless possibilities for adding your personal touch! You can even make stencils of other shapes and sizes. Feel free to share what you create here on mybeautifuleveryday in the comment section!
May you find the beautiful in your everyday 🙂
August 8, 2015 @ 8:11 am
So lovely!
December 2, 2015 @ 8:55 pm
Lauren, these are beautiful! 🙂 So simple and sweet.
December 2, 2015 @ 10:40 pm
This is so cute! I may have to try it for Valentine’s Day!
February 3, 2016 @ 3:04 pm
How beautiful are those cards! Great for Valentine’s Day or for any occasion really.
February 3, 2016 @ 10:11 pm
Thank you Jennifer!
February 4, 2016 @ 5:22 pm
Wow! That turned out so pretty and it looks much more time intensive than it actually is!
February 6, 2016 @ 10:09 am
Thank you Susannah! It really is easy to create, even if you have never really used watercolors before!